Use the Swag docker container as reverse proxy
We are going to see how to use swag as an SSL reverse proxy for your dockers app.
Prerequisite
To be able to use swag as a reverse proxy to expose publicly (or only inside your network) your services using SSL you need the followings
- A domain name
- Using a swag compatible DNS server, I recommend Cloudfare, your public IP address will be hided
- Create DNS record to point your subdomain(s) to your public ip address.
- Openings the port 443 (https) on your router / firewall
In this example I will show you how to configure Swag with a domain hosted with Cloudflare
Deployment
You can add this on your current docker-compose.yaml file or create a new one, but be sure the swag container is in the same docker network than the containers you want to access to.
---
version: "2.1"
services
  swag:
    image: lscr.io/linuxserver/swag
    container_name: swag
    cap_add:
      - NET_ADMIN
    environment:
      - PUID=1000
      - PGID=100
      - URL=your.domain
      - SUBDOMAINS=wildcard
      - VALIDATION=dns
      - DNSPLUGIN=cloudflare
      - ONLY_SUBDOMAINS=true
    volumes:
      - /local/path/for/datas:/config
    ports:
      - 443:443
    restart: always
Let me explain the environments options of this docker-compose file:
PUID/GUID: This is LSIO common options for all their containers you can find the explanation hereURL: Your domain nameSUBDOMAINS: The subdomains you want s SSL Certificate for, you can use wildcard, so you will have a certificate SSL *.yourdomain.com, or you can put a list of the subdomains you want a SSL certificate with the following syntax:
SUBDOMAINS=subdomain1,subdomain2,subdomain3VALIDATION: the validation type to valide you if you own the domain. in our case we are going to use dnsDNSPLUGIN: the name of you DNS provider, in this case we are going to use cloudflare. To see the list of the compatible DNS provider you go hereONLY_SUBDOMAINS: Set to true if you want to create only subdomain.
Now, start the container with
docker compose up -dConfiguration
Once the container started , you can go to the folder
/local/path/for/datas/dns-confEdit the file cloudflare.ini and modify the line dns_cloudflare_api_token with your own API token.
To get you API token go to https://dash.cloudflare.com/profile/api-tokens
- Click Create Token
- choose Edit zone DNS template
- Configure like this with your own domain

Continue to summary and save your API token
The file should looks like this:
# Instructions: https://github.com/certbot/certbot/blob/master/certbot-dns-cloudflare/certbot_dns_cloudflare/__init__.py#L20
# Replace with your values

# With global api key:
#dns_cloudflare_email = [email protected]
#dns_cloudflare_api_key = 0123456789abcdef0123456789abcdef01234567

# With token (comment out both lines above and uncomment below):
dns_cloudflare_api_token = YOUR-API-KEY
Once it's done, restart your container
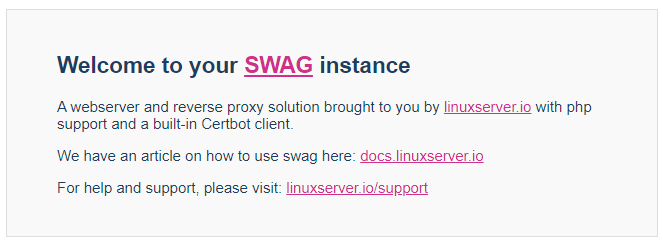
docker compose restart swagAfter a few seconds, open a browser and go to the ip of your server on https and you should see this:
Now swag is functional, you can start to use it as reverse proxy for your docker services applications.
Use the reverse proxy
It's easy to use swag, what you have to do is:
- Go to the folder
/local/path/for/datas/nginx/proxy-confs - Find the application you want to use, for example for Vaultwarden, rename or copy the file
vaultwarden.subdomain.conf.sampletovaultwarden.subdomain.conf - Be sure sur your swag container is in the same docker network than the container you want to access, in this case vaultwarden
- Swag use the docker DNS name of the container, so be sure the vaultwarden container is named Vaultwarden, you can also modify the file
vaultwarden.subdomain.confif your container is named differently (set $upstream_app vaultwarden;). - Create a CNAME or A Record for your subdomain vaultwarden.your.domain to your public IP address, if you don't want to use vaultwarden.your.domain, you can modify it in the file vaultwarden.subdomain.conf (server_name vaultwarden.*;)
- Restart your Swag container.
Sources: